Overview
This tutorial is intended for Performance-Based Design Engineers that want to track the flow of Contaminants in their building models. It will demonstrate Contaminant tracking in a simple 2 Zone model to help you understand the basic concepts of modeling Contaminants in Ventus. You will learn how to define Species for tracking, inject Species in to your model as Contaminants, and use the Transient Simulation analysis tools in Ventus to view the Contaminant concentrations in each Zone.
Before Starting
Before beginning this tutorial:
- Download the 2-zone-contaminant.vnts model to follow along.
- Read through the Species section in the User Manual.
Introduction
Contaminant tracking is an important part of many Smoke Control and Indoor Air Quality studies. Understanding how Contaminants flow from one zone to another in your models allows you to better control the dispersion of contaminants, and design systems to perform critical functions like maintaining of tenability in emergency scenarios.
In this tutorial we will create a 2 Zone model, define some Flow Paths that will control the flow between the two Zones, and inject a Contaminant in to one Zone to observe how the Contaminant transports through the model.
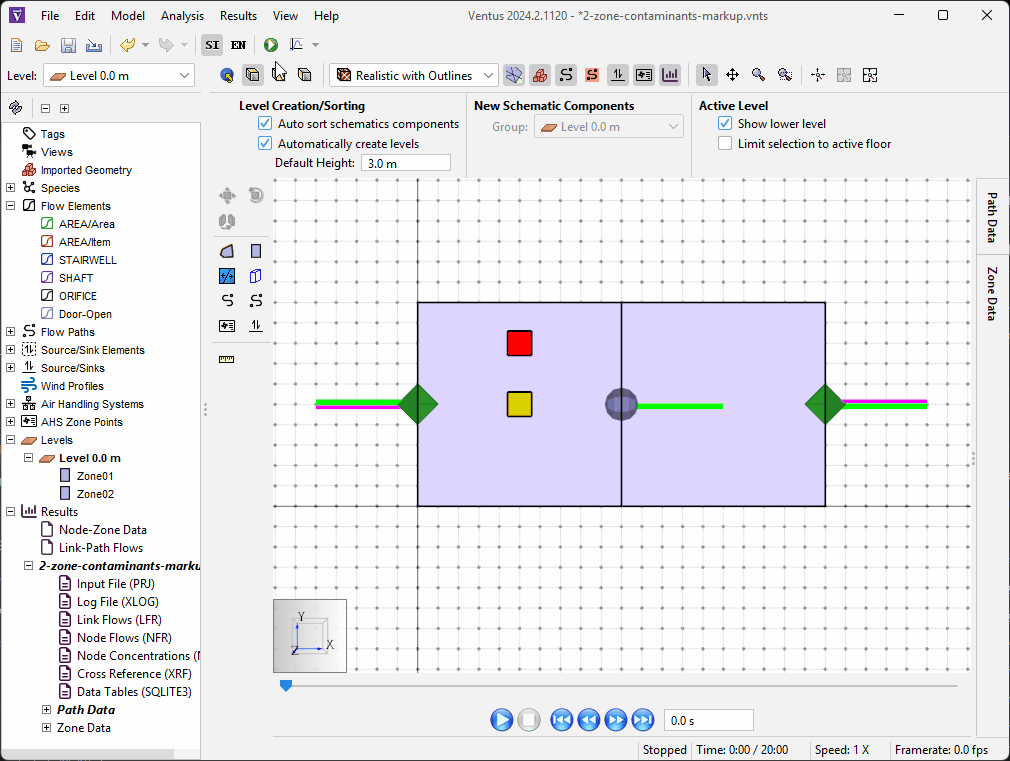
Creating the Geometry
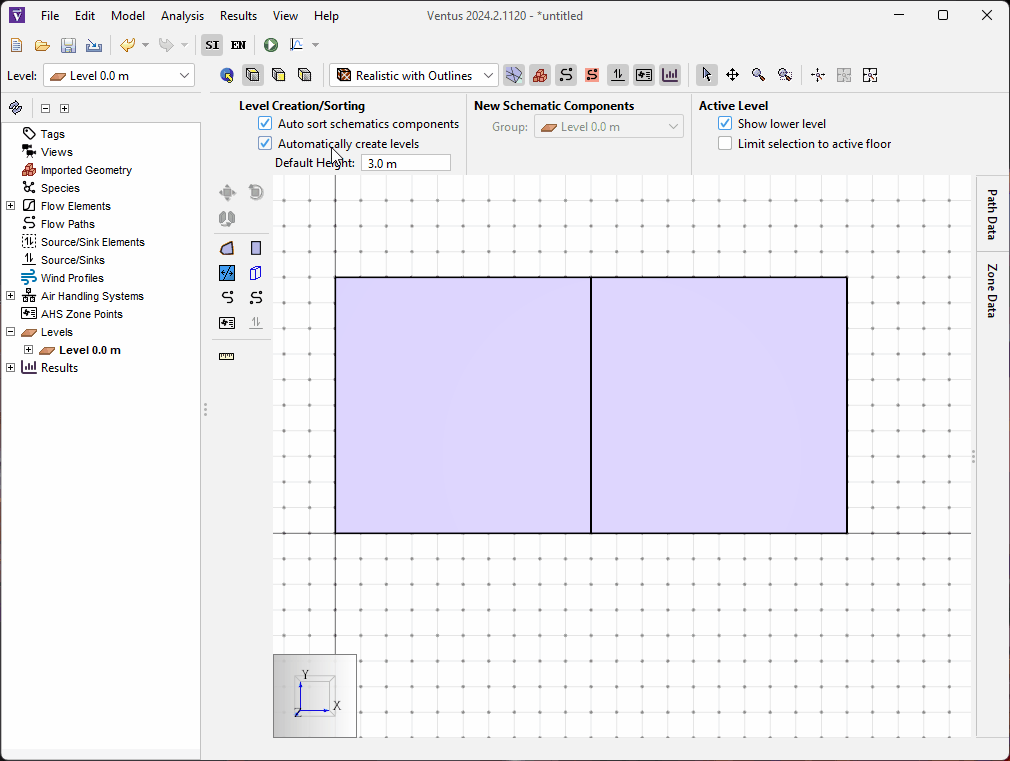
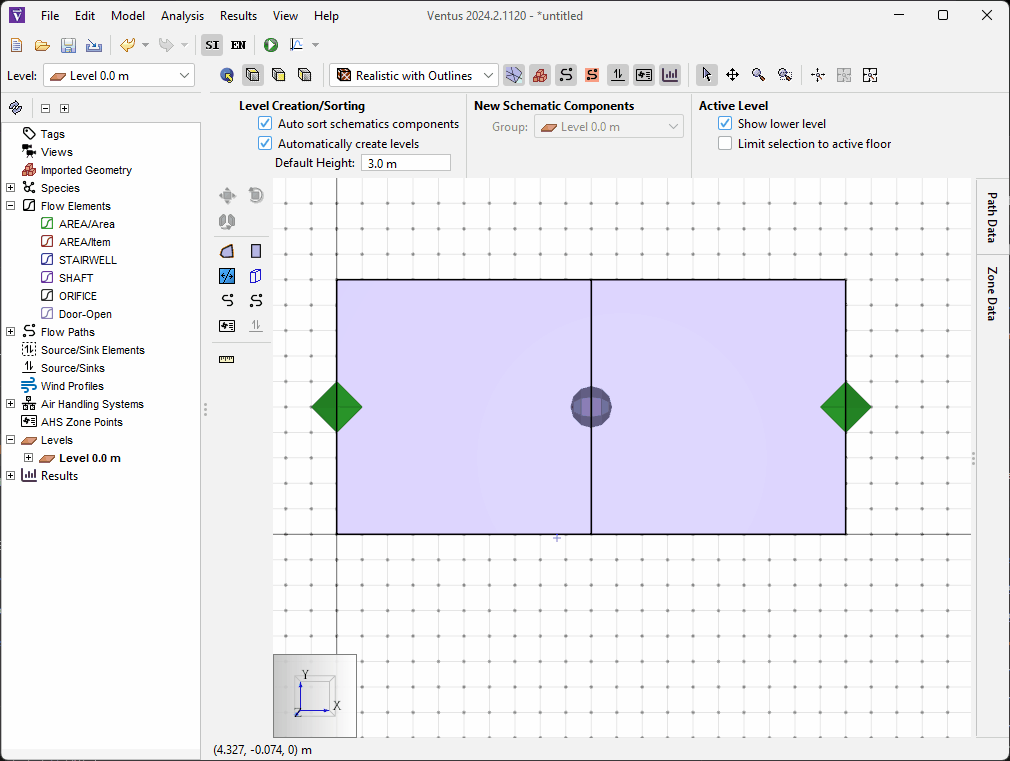
The geometry for this model will be very simple and consist of only 2 Zones. To create the 2 Zone geometry:
- Open a new Ventus model.
- Click the
 icon to switch to the Top View.
 - Select the Rectangular Room tool
 and draw two connected Zones, each
 5m x 5m.
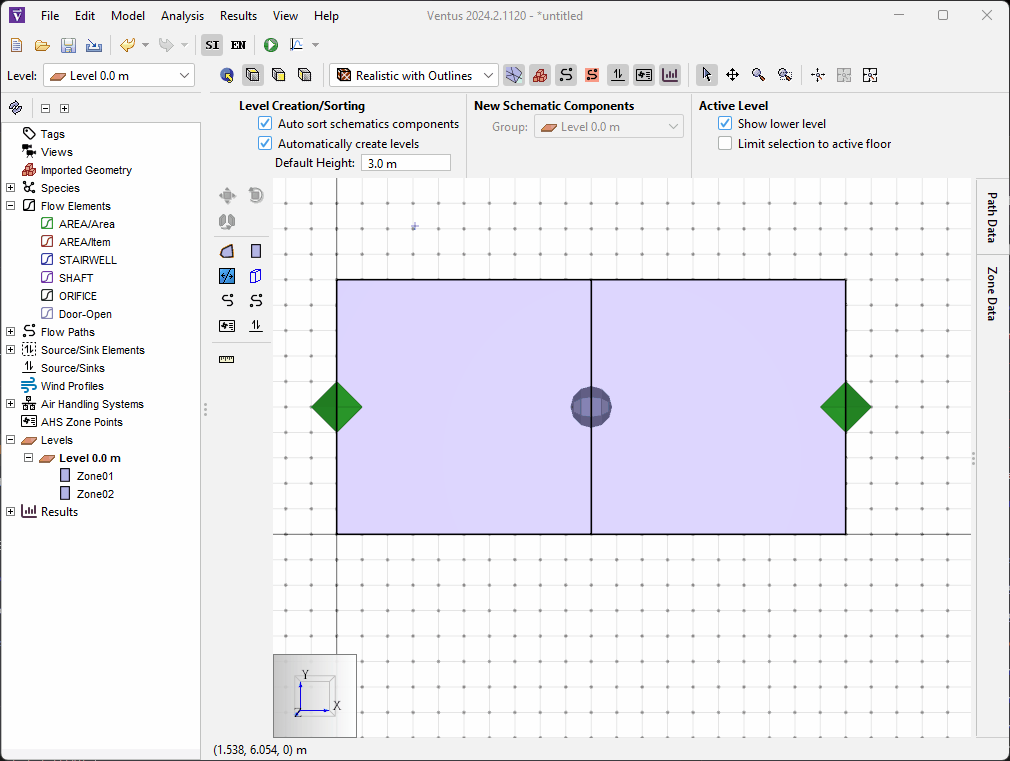
The Zones are now ready for us to add some Flow Paths to define how air will flow between the Zones.
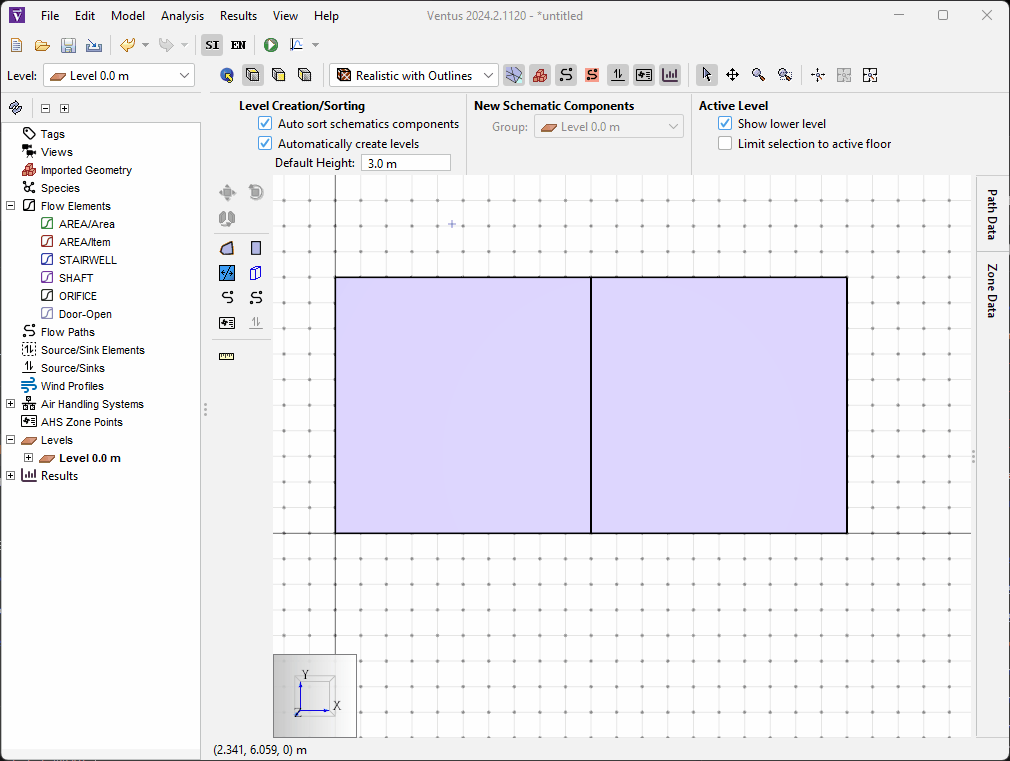
Defining Flow Elements
The first step to defining Flow Paths is to define the settings each Flow Path will use. This is accomplished by adding Flow Elements to the model. We will only need one new Flow Element to model an open door between the two compartments. All other Flow Paths we use will use one of the default Flow Elements available in Ventus.
To create this Flow Element:
- Use the Model › Edit Flow Elements action to open the Edit Flow Elements dialog.
- Click New to open the New Flow Element dialog.
- Name the Flow Element
Door-Openand select the Orifice Area entry in the Model field. - Click OK to create the Flow Element.
- Enter the value \(1.85 m^2\) in the Cross-Sectional Area field.
- Click OK to apply these changes.
Door-Open Flow Element.We are now ready to use this and other Flow Elements to create some Flow Paths in the model.
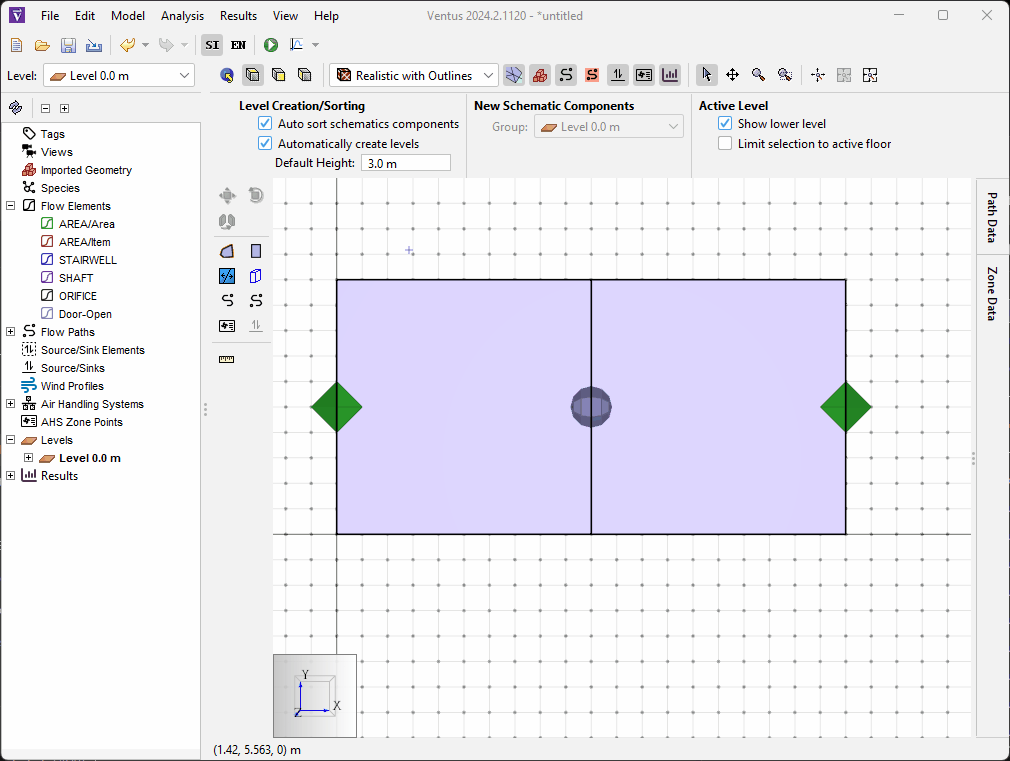
Creating Flow Paths
We will create 3 Flow Paths in the model.
One Flow Path will use the Door-Open Flow Element to connect the two zones, and the other two will use the default AREA/Area Flow Element to connect the two zones to the ambient boundary of the model.
To create these Flow Paths.
- Double-click the
 icon to select the Two Point Flow Path tool in pinned mode.
 - In the Tool Properties ribbon, select the
Door-OpenFlow Element in the Element field. - Draw a line across the wall between the two Zones to create the Flow Path modeling our open door.
- In the Tool Properties ribbon, select the
AREA/AreaFlow Element in the Element field. - Draw two lines, one across the outer wall of each Zone, to create the Flow Paths connecting the Zones to the ambient boundary.
The Flow Paths are now created and we are ready to add a Contaminant to our model.
Creating a Species to track Contaminants
To track Contaminants in Ventus, we need to first define a Species. The Species defines some fundamental data about our Contaminant, which will affect how it flows in our model. In this example, we will create a very simple Species. To create this Species:
- Use the Model › Edit Species action to open the Edit Species dialog.
- Click New to open the New Species dialog.
- Name the Species
Smoke. - Click OK to create the Species.
- Leave the default values in the Edit Species dialog for
Smoke. - Click OK to apply the changes.
Smoke Species.We are now ready to inject the Species in to the model.
Defining a Source/Sink Element
To inject a Species in to the model, we will use a Souce/Sink Element. Sources/Sinks and Source/Sink Element have a similar relationship as Flow Paths and Flow Elements. A Source/Sink Element defines the parameters that are then used by an individual Source/Sink.
So to create a Source/Sink, the first step is to define a Source/Sink Element that injects our Smoke Species.
To do this:
- Use the Model › Edit Source/Sink Element action to open the Edit Source/Sink Elements dialog.
- Click New to open the New Source/Sink Element dialog.
- Name the Element
Smoke Generator. - Click OK to create the new Source/Sink Element.
- The
SmokeSpecies should automatically be selected for the Element, as it is the only Species in the model. - Enter
0.264 lb/sin the Generation Rate field. - Click OK to apply the changes.
Smoke Generator Source/Sink Element.We have now created the Source/Sink Element and are ready to use it in our Source.
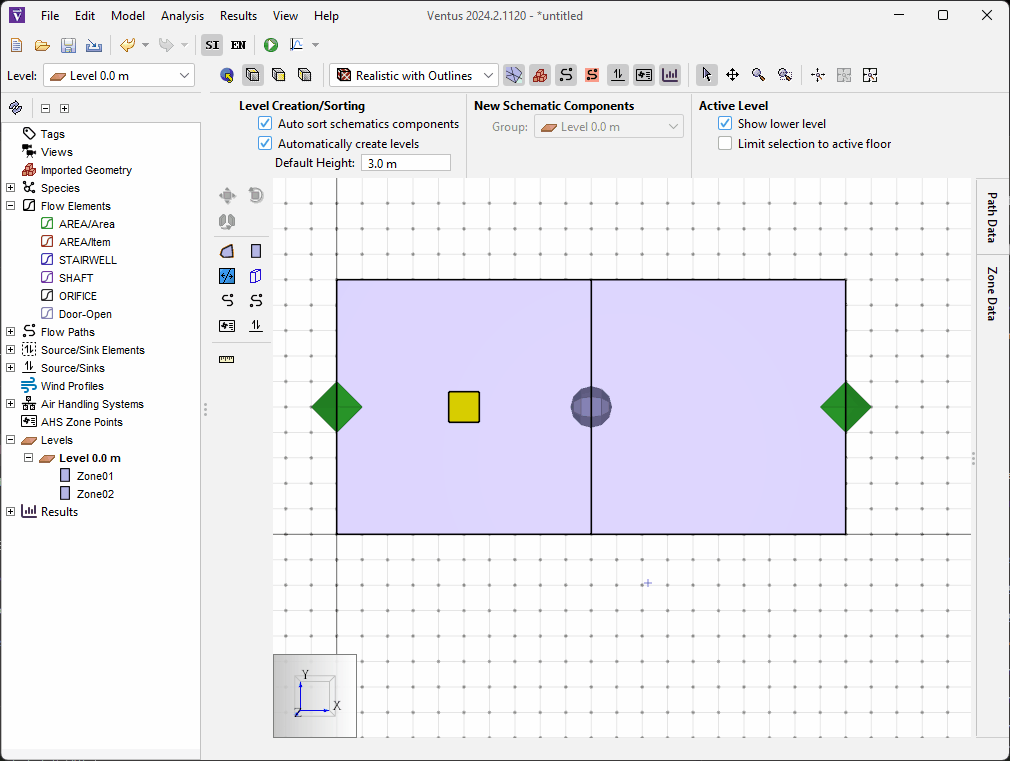
Creating a Contaminant Source
Now that we have the Source/Sink Element, we can use it in a Source. To do this:
- Click the
 icon to select the Source/Sink tool.
 - In the Properties ribbon, ensure that the
Smoke Generatorelement is selected in the Element field. - Click in
Zone01(the left Zone) to create a Source in the Zone.
Zone01.We have now created a Contaminant Source in our model. We are almost ready to simulate.
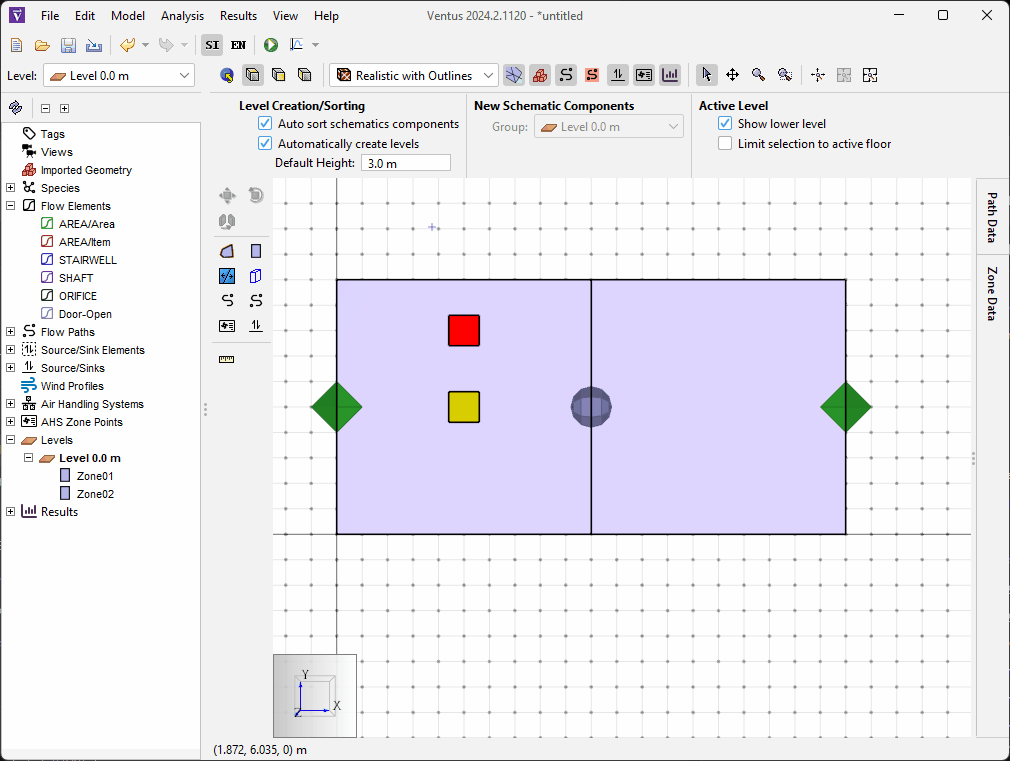
Creating a pressure source
In order for contaminants to actually move through the model, there must be some source of pressure or air flow.
This can range from natural effects like wind or stack effect, or forced flow effects like fans.
For our model, we will add a simple fan to supply some airflow to Zone01.
To do this:
- Click the
 icon to select the AHS Zone Point tool.
 - In the Properties ribbon, enter
1500 scfmin to the Design Flow Rate field and ensure that the Types field is set toSupply. - Click inside of
Zone01(the left Zone) to create the fan.
Zone01.We have now created the fan. All that is left before simulating is to configure our simulation settings.
Configuring Transient Settings
To model contaminants in Ventus, you must configure the Simulation Parameters to use the Transient simulation mode. To do this:
- Use the Analysis › Simulation Parameters action to open the Simulation Parameters dialog.
- Set the Airflow Simulation Method to Transient
- Click OK to apply the changes.
We are now configured to run the simulation.
Running the Simulation
We are now ready to run the simulations. To do this:
- Click the Run icon
 .
The simulation should take only a few seconds.
.
The simulation should take only a few seconds. - When the simulation is complete, click OK in the Run Simulation dialog.
The simulation should complete in a matter of seconds, and you should see the 3D Flow Path visualizations update in real time, showing the flow vectors at each Flow Path.
Viewing Results
We are now ready to view the results of how our Contaminants have moved throughout our model. To view the results:
- Click the Zone Data button on the right of the window to open the Zone Data panel.
- You should see 2 rows, representing our 2 Zones.
The right-most column specifies the concentration of our
SmokeSpecies in that Zone. - Click the
 icon to begin playback of the Transient Results.
You should see the values in the Zone Data table begin to update and show the results over time.
You can use the
icon to begin playback of the Transient Results.
You should see the values in the Zone Data table begin to update and show the results over time.
You can use the  icon to speed up playback of the results.
Conclusion
As you can see from the results, the Smoke is generated in Zone01 and moves through the Door-Open Flow Path to then contaminate Zone02.
Now that you are familiar with how to model Contaminants using Species, inject those Species in your model, and view Contaminant concentrations using the transient simulation and analysis tools in Ventus, you should be able to apply these same skill to your own models.
To download the most recent version of Ventus, please visit the Ventus download page. Please contact support@thunderheadeng.com with any questions or feedback regarding our products or documentation.
Related Tutorials
Learn when and how to model Two-way Flow in Ventus.
This tutorial teaches the user how to perform a closed door Stairwell Pressurization study in Ventus.
This tutorial teaches the user how to perform an open door Stairwell Pressurization study in Ventus.
This Feature Demo details the steps to create a Ventus model with imported 3D geometry.
Tutorial demonstrating how to model a fire in Pyrosim.
This Feature Demo covers how to use the Performance Curve Flow Element
This Feature Demo details the steps to model door state changes in Ventus
(Legacy) Tutorial to experience the fundamental features of PyroSim