General usage information for the Pathfinder Monte Carlo Utility
There is a newer version of this document. To view the latest version, click here.
Pathfinder comes with a set of scripts to help you run Pathfinder from the command line. This document focuses on these scripts used to generate variations of an initial Pathfinder model for testing the effect of variability on the simulation results. Using this utility might be useful for testing the sensitivity to initial conditions (starting position, profile parameter assignment, etc.) and/or to help with validation of distributions (normal, uniform, log-normal, etc.) used for input parameters to the model.
A typical usage of the Monte Carlo system is a three step process:
montecarlo_createcases.bat from the command prompt to generate some variations of a source model (as well as utility BAT files for running the models and collecting results)._run.bat script._results.bat script.The following examples are for different simulation scenarios that we used for testing the Monte Carlo utility.
The reference to model.pth is just an example file name, you would need to create a simple model of your own.
This command generates 20 variations of myfile.pth with randomized positions and profiles for all occupants.
"C:\Program Files\Pathfinder 2024\montecarlo_createcases.bat" myfile.pth 20
This command generates 20 variations of myfile.pth with randomized positions and profiles for all occupants except those under the "Base_Floor" group.
"C:\Program Files\Pathfinder 2024\montecarlo_createcases.bat" myfile.pth 20 --exclude=Occupants/Base_Floor
This command generates 20 variations of Scenario01 in myfile.pth and 20 variations of Scenario02 in myfile.pth with randomized positions and profiles for all occupants.
"C:\Program Files\Pathfinder 2024\montecarlo_createcases.bat" myfile.pth 20 Scenario01 Scenario02
==== Example 4: Combining Multiple Options
This command generates 20 variations of myfile.pth with randomized profiles for all occupants, and randomized positions for all except those under the Occupant sub groups "First_floor" and "Rooftop".
"C:\Program Files\Pathfinder 2024\montecarlo_createcases.bat" myfile.pth 20 --exclude_pos=Occupants/First_floor --exclude_pos=Occupants/Rooftop
You cannot modify model geometry or parameters related to it (stair width, rise/run, door width, etc.)
Due to a restriction in java.exe used by the BAT file to process program parameters, some parameters may be converted to a "best-fit" character encoding and lead to errors.
This is typically only an issue when working with files that were created in a localization region different from the system where this command is used.
A previous version of this tool (released prior to Pathfinder 2020.1.0219) did not randomize any occupants directly under the Occupants node on the tree (only occupants in subgroups were randomized). This was to allow some basic level of control on which occupants were randomized, but this feature has been replaced by include/exclude filters (Additional Options) in more recent versions of Pathfinder.
Open a command window in the location of the .pth file (current working directory).
The basic command structure is:
<montecarlo_createcases.bat> <pathfinder filename> <number of variations> <addl. opts> <scenarios...>
Example:
"C:\Program Files\Pathfinder 2024\montecarlo_createcases.bat" myfile.pth 20 --exclude=Occupants/First_Floor Scenario01 Scenario02
This command will generate 20 cases for both Scenario01 and Scenario02. 40 cases will be created in total. If no scenarios are specified, cases will be generated from the <default> scenario.
This command will exclude any occupant whose ID contains the text "Occupants/First_Floor". An occupant’s ID is determined by its position in the Pathfinder tree (Navigation View). The separator for groups and object nodes is a forward slash.
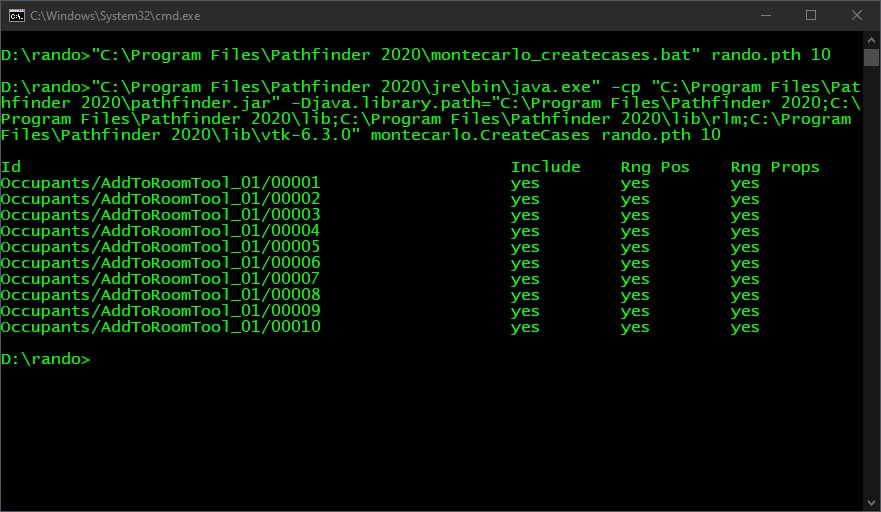
When the script is finished you will see output to the Terminal showing the status of every occupant in the model as shown in Figure 1.
Each ID string will be followed by three yes or no values:

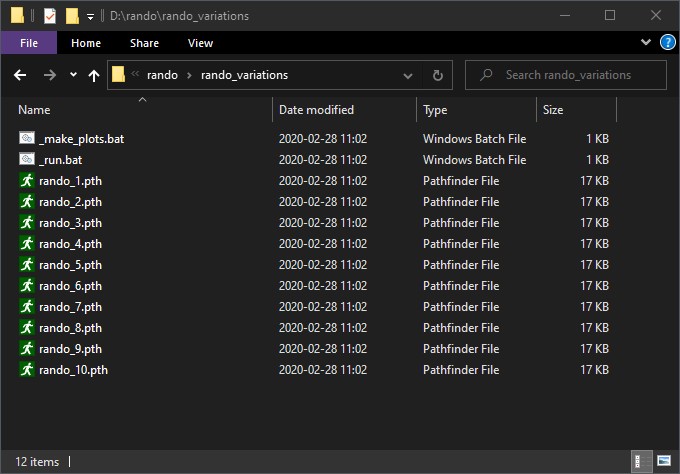
A new variations folder <pathfinder filename>_variations (Figure 2), containing all of the new cases and two batch script files.
If multiple scenarios were generated, subfolders will be created for each scenario.
Each subfolder will contain the new cases for that scenario and two batch script files specific to that scenario.
The <pathfinder filename>_variations folder will still contain batch files that run all scenarios.

To run all of the cases at once, navigate into the <pathfinder filename>_variations folder in File Explorer and double-click the _run.bat file.
This will start a process to run all of the simulations in numerical order.
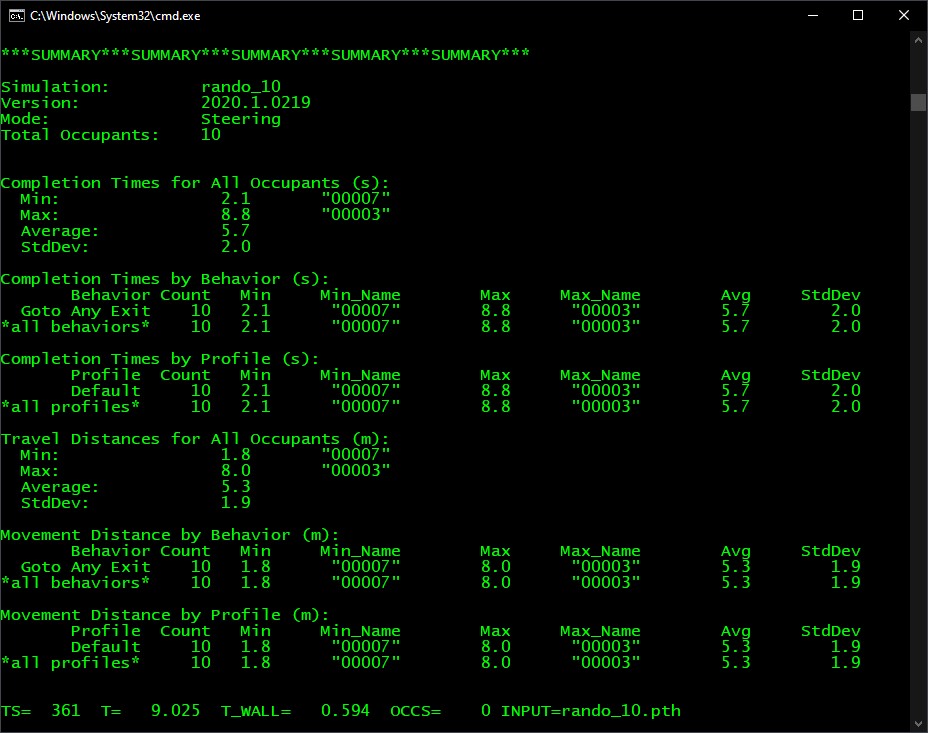
Each simulation will output a brief summary to the Terminal window as shown in Figure 3.
When the simulations are complete, the Terminal window will close.

_run.bat script.To create and view plots of Completion Times for All Occupants Figure 4 and Travel Distances for All Occupants Figure 5 double-click _make_plots.bat.
The _make_plots.bat file will generate the following files:
Completion Times for All Occupants (s).csv.
Double-clicking this file will open the plot, shown in Figure 4, in your default browser window.
For each variation, the thin plotted line plots the range of the MIN to MAX completion times for all occupants, while the thick plotted line plots the range of the LOW to HIGH completion times.Travel Distances for All Occupants (m).csv.
Double-clicking this file will open the plot, shown in Figure 5, in your default browser window.
For each variation, the thin plotted line plots the range of the MIN to MAX travel distances for all occupants, while the thick plotted line plots the range of the LOW to HIGH travel distances.

There are additional options that you can specify to change how the simulations are run and what information is included or excluded from the simulation.
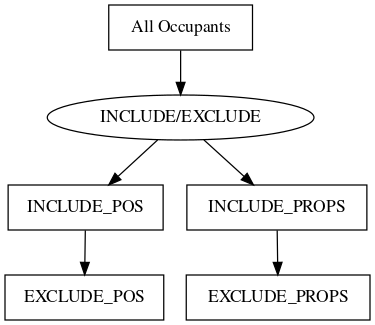
See the additional options processing order diagram (Figure 6) to visualize the flow. Include is processed before exclude in all cases. Position and properties are processed separately.
Multiple paths can be specified with each option. To list more than one path for any option repeat the option name for each additional path.
0 - (default) stay in current room1 - all position randomized agents' current rooms2 - any non-disabled occupiable room
Please email support@thunderheadeng.com if you have any questions about how to use this utility, or for new feature requests.